DIY Embroidered Cloud Pillow
Supplies:
Fabric in two colors, needle and thread in two colors, embroidery hoop, scissors, pencil, and poly fill.
Directions:
Draw a cloud shape on your fabric. I chose a light blue pattern cotton fabric for the front and a hot pink velvet for the back of the pillow. I drew the cloud on the light blue fabric and cut it out. I then used that cloud as a stencil for the pink velvet backing.
After your clouds are cut out pick the side you intend to embroider and write your message on it with the pencil. I wrote "Dream of me." Put your fabric on the embroidery hoop and make tiny stitches following your pencil outline.
When you are finished with the embroidered message flip the two clouds inside out/ front sides facing each other, and stitch all around the edges but leave a small opening for stuffing.
Then fill it up!
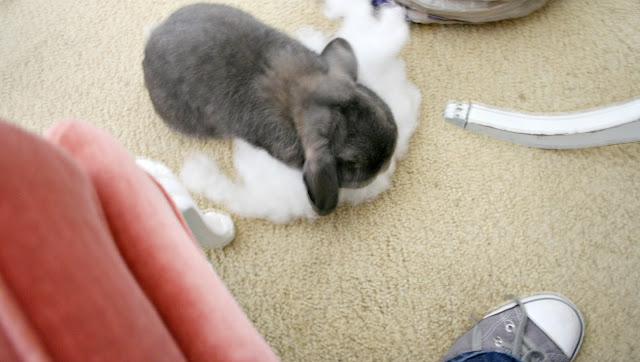
"I helping" - Sammy
Lastly, stitch the opening closed and fluff it up and ta dah!! Its ready!
Sweet Dreams
xo
kirsten


Aw super cute pillow! Although my favorite is your helper <3
ReplyDelete(((Samy))) such a sweet helper.
ReplyDeleteI love the colours you chose for this project.