Pages

Showing posts with label holiday gifts. Show all posts

Monday, December 23, 2013

DIY: Holiday Greeting Card Wreath

Here is a simple, last minute Holiday DIY for you. Perhaps you have already amassed a good amount of greeting cards from all of your loved ones this season or perhaps you are like me and you just love to collect vintage cards. Either way, you can turn all of those pretty cards into a little wreath for another last minute decoration for your holiday party. All you need is a flat wreath, a stack of cards, some ribbon of sorts, and about 15 minutes. 


 Voila! Easy wreath! Happy Holidays and Merry Christmas to you all! 

Friday, November 23, 2012

Handmade Holidays Project 4

DIY Branch Storage Rack.


Supplies Needed:
Branch, knife, Paint in three colors, paint brush, hammer, and nails.

Step One: Step outside and find a branch! Nature is my favorite art supply store. The prices are always right too :)

Step Two: Bring your branch inside. If it's damp you might need to let it dry out over night. 

Step Three: Strip off the excess bark. Just take your knife and scrape the branch in a downward motion away from your body. If there is still some left its no big deal, it will add texture. 

Step Four: Time to Paint! Use your three paint colors to add stripes to your branch. I just free handed it because I didn't want it to look exactly perfect but if you want yours to be more even I would suggest using tape. I also left the ends of the branch natural.

 Step Five: Hammer Time! Nail five or six nails spaced evenly along the painted part of your branch. Make sure they stick uot far enough to hook things on. After your finished its ready to hang!!

I think this is would make a great "guy" gift because its useful and decorative but not girly. Its a great project for any one. It would be a beautiful towel rack in a bathroom too. 

Hope you enjoy making this project! If you make any projects from this blog I would really really love to see pictures!!

Hope ya'll had a spectacular Thanksgiving!
-Kirsten

Saturday, November 17, 2012

Handmade Holidays Project 3

DIY Embroidered Cloud Pillow


Supplies:
Fabric in two colors, needle and thread in two colors, embroidery hoop, scissors, pencil, and poly fill. 


Directions: 
Draw a cloud shape on your fabric. I chose a light blue pattern cotton fabric for the front and a hot pink velvet for the back of the pillow. I drew the cloud on the light blue fabric and cut it out. I then used that cloud as a stencil for the pink velvet backing. 


After your clouds are cut out pick the side you intend to embroider and write your message on it with the pencil. I wrote "Dream of me." Put your fabric on the embroidery hoop and make tiny stitches following your pencil outline. 


When you are finished with the embroidered message flip the two clouds inside out/ front sides facing each other, and stitch all around the edges but leave a small opening for stuffing.


Then fill it up! 

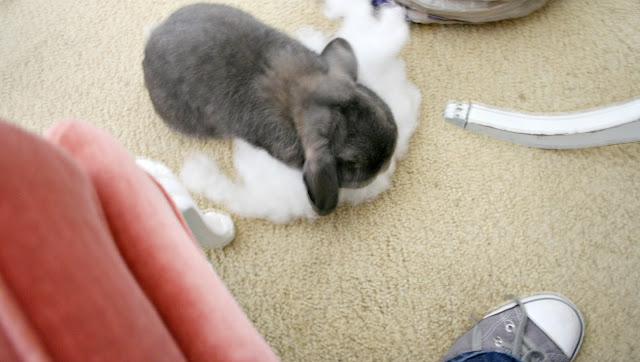
"I helping" - Sammy

Lastly, stitch the opening closed and fluff it up and ta dah!! Its ready!


Sweet Dreams

xo
kirsten

Etsy Loves Under $10

For this weeks "Etsy Loves" post I decided to compile a few gift ideas all for $10 or less. I know I'm not the only one on a tight budget this year so here are a bunch of cute handmade and vintage items that are easy on the wallet...

For the ladies...


onetwothreefourfivesix,

and the gentleman...


onetwothreefourfivesix
seveneightnineteneleven

Happy bargain shopping!

Kirsten
Related Posts Plugin for WordPress, Blogger...